White Instagram Aesthetic Holy Grail

Happy Sunday, Friends! I am extremely excited to pop in and share this awesome technique I learned in the past week. I have alway...

Happy Sunday, Friends!
I am extremely excited to pop in and share this awesome technique I learned in the past week.
I have always yearned for that perfectly white Instagram aesthetic.
(Amy, who cares.. it's just Instagram!)
As silly as it sounds I am a huge fan of presentation and having things look a certain way.
I originally started school for graphic design and I think after all of this and me getting back into
designing things for my blog/youtube, I might go back to finish it out.
Anyhow, I was watching some videos and just started piecing things together on the best ways to edit photos. A couple weeks ago I realized that the actual editing in Instagram is way better than people give it credit for. I used to use VSCO CAM to add a filter & then went into Afterlight to adjust the settings like brightness, contrast, highlights, etc.

Shown above is the use of the Instagram editing tools.
I NEVER use a filter anymore. Use the natural tones in the photo and adjust from there.
If you want your photos to look more toned down, you can use the "fade" filter on your IPhone camera settings.
Even though I was getting better looking photos just with that alone, I was still wishing that they would be more white and vibrant. As I'm sure all of you know, we thought that the only way to do this was to boost the brightness by a ton! Only that would make the photo less detailed and look like you were trying too hard. 
Here's where the magic comes into play.
The app is called Facetune & it costs $3.99 in the app store but I'm telling you it is well worth it.
I never usually pay for apps but this one like I said, is a game changer.
When you open the app you go ahead and choose a photo to use.
It might sound silly but there is a teeth whitening tool and you are going to use this to whiten any background in your image.
I've gotten it to whiten yellow & green as well. I will show pictures below!
You basically take your finger and rub all around on the area you want to brighten.
My husband teased me when I first found this and said Apple was going to have to fix a first ever burnt hole in a screen.
Once you've whitened your image, you will scroll over on the effects bar and choose the "filter" section. You will choose the "lighting" button and I always use the second or third one depending on the photo. You can change the brightness by taking your finger and moving it up or down on the screen. From this point you can choose to select the "details" button and rub your finger over anywhere on the photo that has lost detail due to editing.
Save your photo & go straight to Instagram. Continue editing however you'd like on the app.
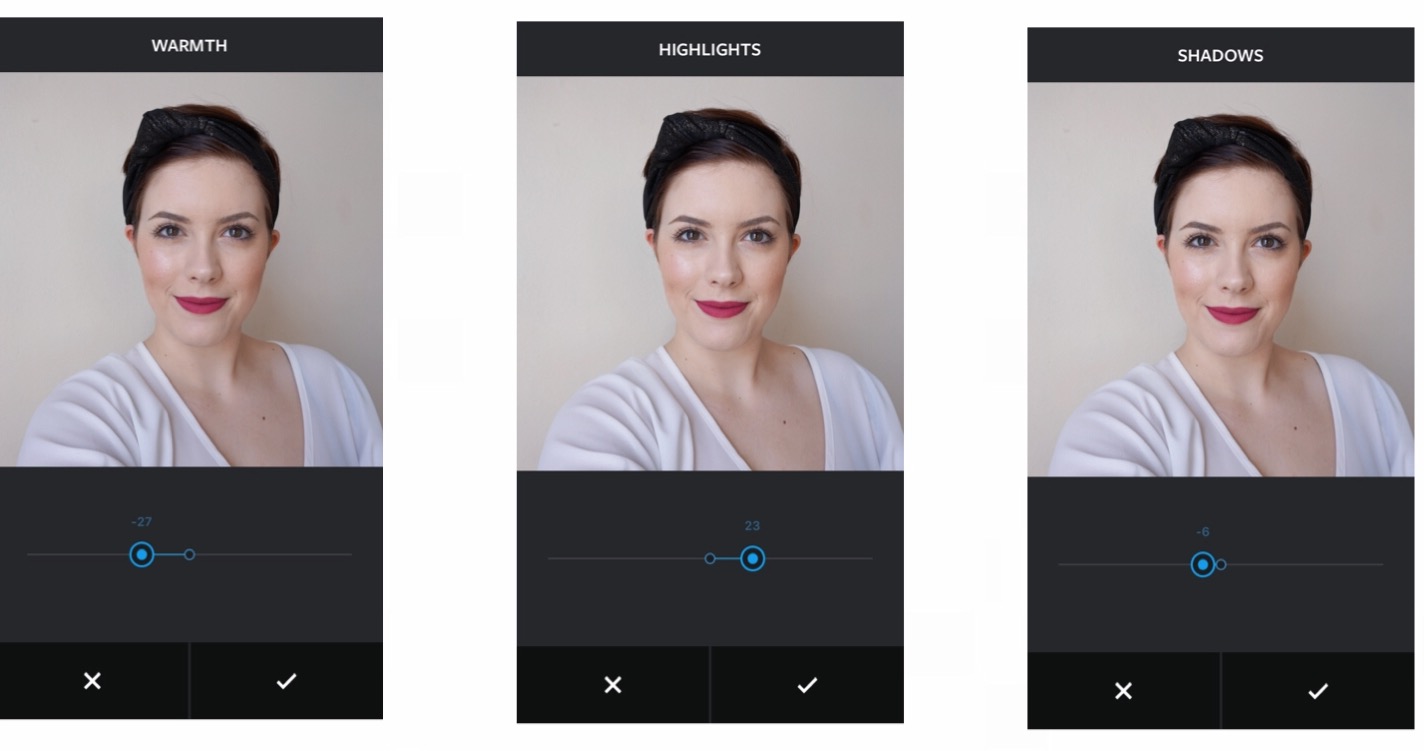
I generally will go into the "warmth" section and bring it more towards the blue side.
Adjust the highlights and shadows.
Just whatever I think the photo needs.
& you're done! You've successfully brightened, whitened, and detailed your photo.


It's like a sickness. You won't be able to stop & you will be regretting every photo you've posted in the past. Haha.
Here's to bright-white editing in the future!
I hope this helped you & please leave a comment below or feel free to tag me in any photos!
I'd love to see what you've come up with.
Instagram: @thesuperiorpeach

XOXO//AMY 

You Might Also Like

0 comments

Flickr Images